It looks exactly like the old part, but discovering your new gear is off by an eighth of an inch is a costly mistake. In practice, eyeballing a replacement PTO sprocket inevitably leads to mechanical failure. A slightly oversized hole creates “slop”—a violently loose, rattling fit against the spinning metal.
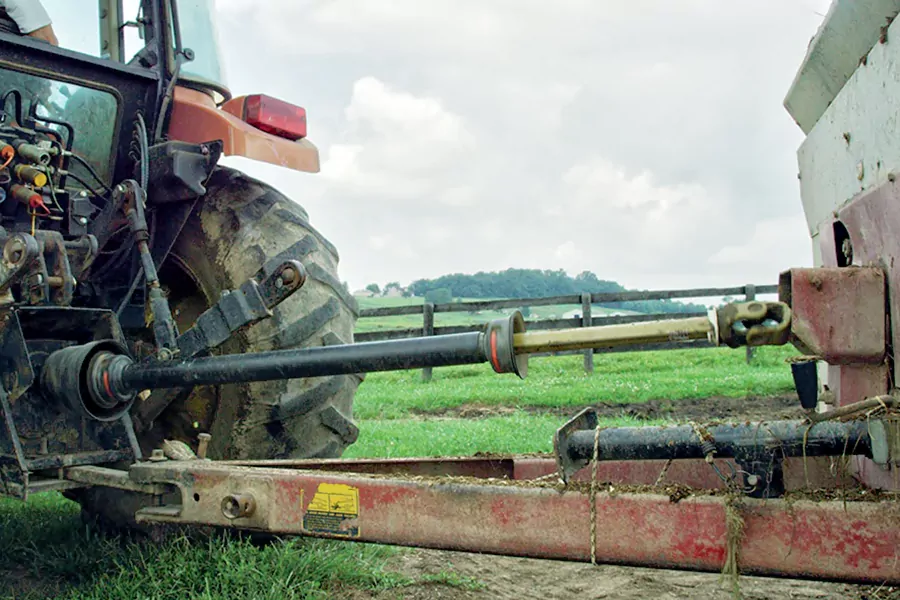
That extra wiggle room won’t just snap a shear bolt; it can permanently chew through your equipment’s expensive Power Take-Off (PTO) shaft. According to seasoned mechanics, the ultimate goal of any tractor PTO shaft compatibility guide is achieving absolutely zero slop. Reviewing these critical dimensions ensures you secure a perfectly tight, safe fit on the very first try.
Step 1: Matching the Chain Pitch to the ANSI Standard
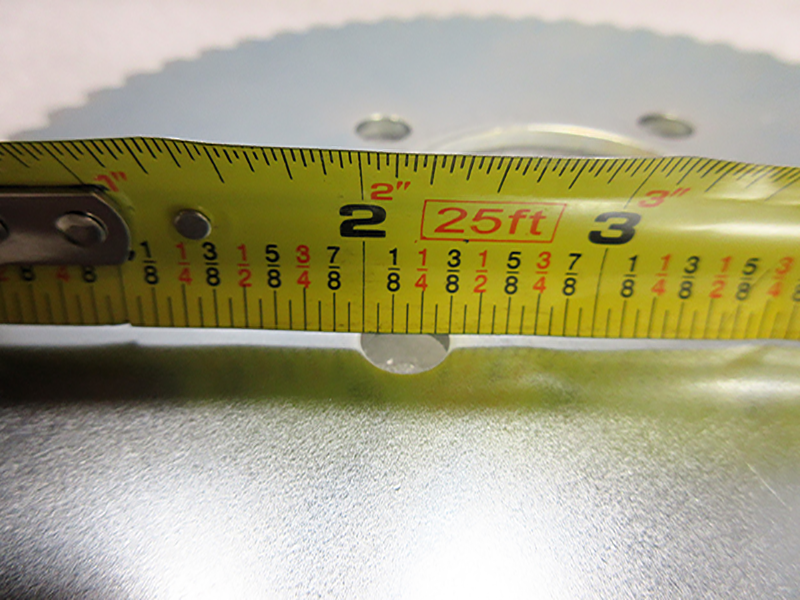
If a replacement sprocket merely looks right, you risk severe mechanical headaches. Proper alignment relies entirely on “pitch”—the exact distance between the metal pins on your chain. Measuring this pin-to-pin distance is exactly how to determine PTO chain pitch for your implement.
Armed with that measurement, you can quickly decode the ANSI roller chain size standards stamped on new parts. The first digit of this number simply tells you the pitch in eighths of an inch.
Common Agricultural Chain Sizes
- #40 Chain: 1/2-inch pitch (4/8″)
- #50 Chain: 5/8-inch pitch (5/8″)
- #60 Chain: 3/4-inch pitch (6/8″)
Exact matching is the best method for preventing PTO chain jumping under heavy loads. A perfect pitch match ensures your chain rides smoothly instead of accelerating wear on the teeth of your new sprocket. With the outer dimensions secured, focus shifts to the inner hub’s bore and connection type.
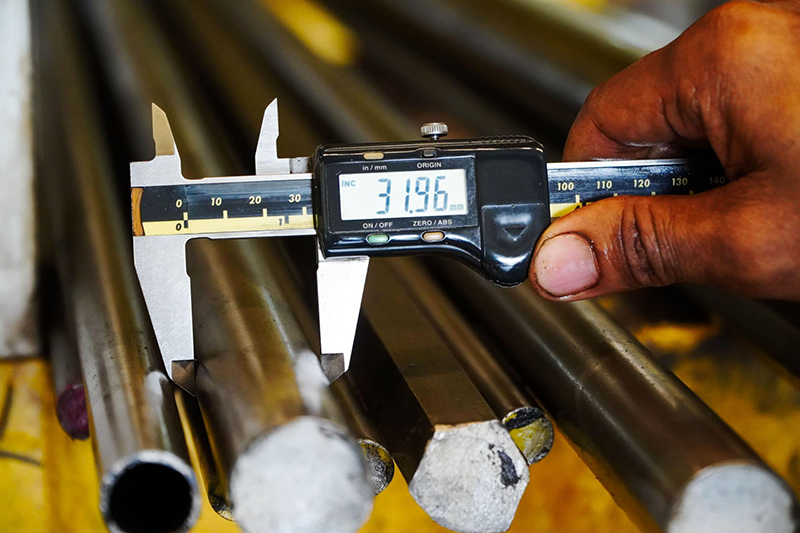
Step 2: Measuring Bore Diameter and Shaft Connection Type
Getting the chain standard right only matters if the replacement part actually fits your tractor. The “bore” is the center hole that slides onto the spinning power shaft. When measuring PTO sprocket bore diameter, always use a digital caliper directly on the steel shaft itself rather than measuring the worn-out sprocket. A ruler works in a pinch, but beware a common mistake: modern implements often use metric shafts such as 25 mm, which may appear similar to a 1-inch shaft but are not interchangeable. Even a small dimensional difference can create unwanted movement and premature wear.
Next, identify how the sprocket locks onto the shaft to transfer power without slipping. Look closely at your equipment’s bare shaft to match one of these locking designs:
Common Shaft Connection Types
Splined vs Keyway PTO
Splines use multiple gear-like teeth grooved around the shaft. A keyway uses a single rectangular slot designed to hold a locking metal key.
Tapered Bore vs Finished Bore
Finished bores are perfectly straight cylinders from front to back. Tapered bores narrow slightly inside, wedging tightly onto matching angled shafts for high-torque applications.
Securing a solid fit at the center hub helps your equipment handle heavy loads safely and provides the foundation for proper power transmission.
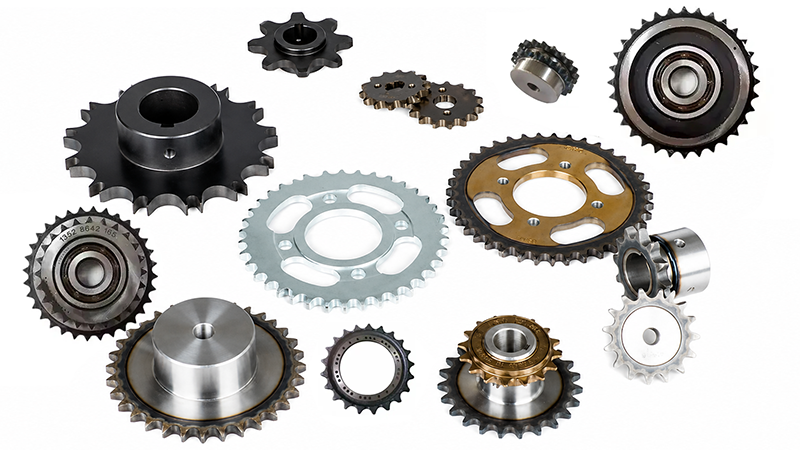
Step 3: Determining Tooth Count and Impact on Gear Ratio
A solid shaft fit means nothing if the gear size ruins your performance. Grab a marker, draw a line on one tooth, and count around the edge to establish your baseline. Altering this number changes your sprocket tooth count and gear ratio.
In general, a smaller sprocket increases driven speed, while a larger sprocket reduces speed and increases torque. The correct choice depends on the implement design, operating conditions, and manufacturer specifications.
Adjusting these speeds requires caution. Increasing operating speed beyond the manufacturer’s recommendations may exceed allowable chain speed or drivetrain limits, resulting in excessive vibration, accelerated wear, and reduced component life. Likewise, demanding too much torque can overload both the implement and tractor drivetrain. Once you find the right balance of speed and power, you must ensure the replacement part can physically withstand those forces.
Step 4: Selecting Material Grade—Hardened vs. Standard Steel
Inspecting PTO sprocket wear patterns on your old part might reveal teeth curved backward like shark fins. This “hooking” indicates significant wear caused by long-term chain contact. Budget replacements are usually made of standard mild steel, which may be adequate for light-duty or occasionally used equipment, such as small fertiliser spreaders. Heavy-duty equipment such as rotary cutters, brush hogs and wood chippers need more wear resistance.
To survive demanding jobs, you must evaluate hardened vs standard steel sprockets. Premium sprockets often undergo induction hardening, which increases surface wear resistance while maintaining core toughness. This combination helps the sprocket withstand continuous loads and shock forces commonly encountered in agricultural applications.
Balancing these PTO sprocket material durability factors helps ensure you select the most appropriate material for your operating conditions. With the right material chosen, the final task is verifying correct shaft placement and alignment.
Step 5: Verifying Hub Offset and Shear Pin Alignment
Securing the right material means little if your chain path is not perfectly straight. A misaligned sprocket creates sideways loading that can accelerate chain wear and reduce drivetrain efficiency. Keeping everything aligned relies on determining sprocket offset and clearance, which comes down to your hub (the raised metal collar around the bore hole):
Hub Styles
- Type A: Flat on both sides (no extended hub)
- Type B: Hub extended on one side only
- Type C: Hub extended on both sides
Matching the correct hub style is only part of the process. Safety features must also align correctly. Proper shear pin hole alignment ensures the sprocket can disengage as designed during an overload event, helping protect more expensive drivetrain components from damage.
Before final assembly and lubrication, verify that the shear pin hole aligns correctly with the shaft and associated components.
Final Pre-Purchase Checklist for a Whisper-Quiet Drive
Knowing when to replace PTO drive sprockets saves your equipment, but securing the exact match saves your weekend. You no longer have to guess online or in-store; you can now confidently verify every specification.
Double-Check Your:
- Tooth count
- Bore interface
- Chain pitch
- Material grade
- Hub alignment
Measure twice before buying your replacement PTO sprocket. A perfect fit means zero “slop” on the shaft and a whisper-quiet drive. Once installed, apply fresh lubrication, fire up your tractor, and tackle the field with absolute confidence.